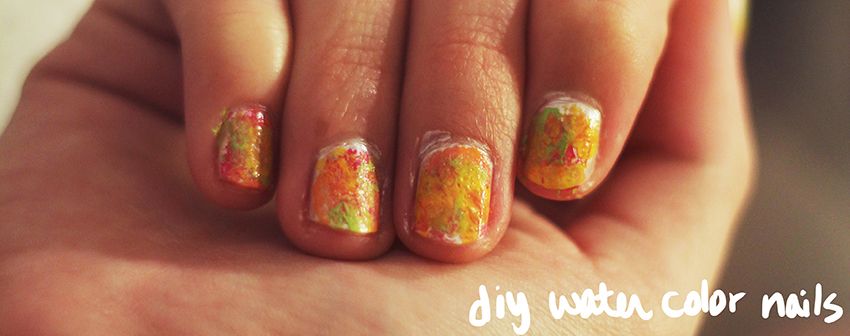
This diy is pretty awesome, because it's really simple and you never really know how it's going to look in the end. It's an easy way to get fancy nails without spending hours painting them.
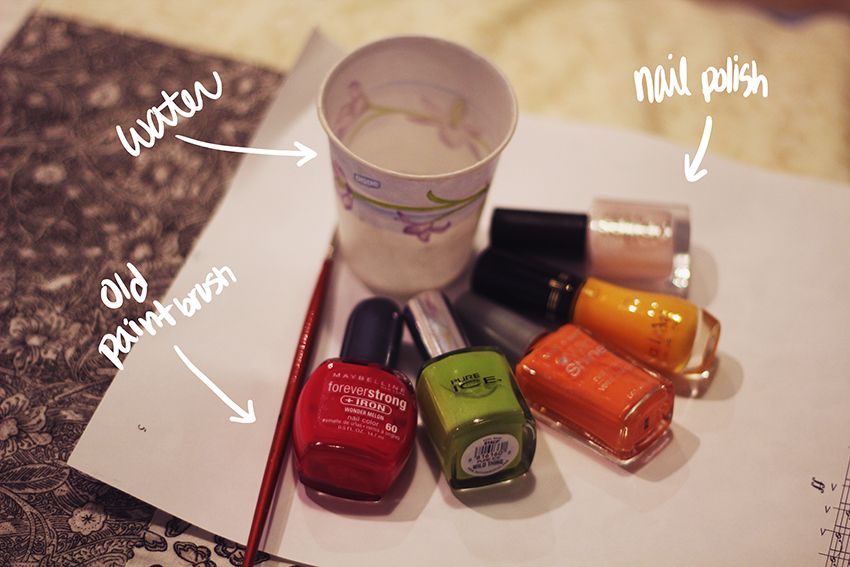
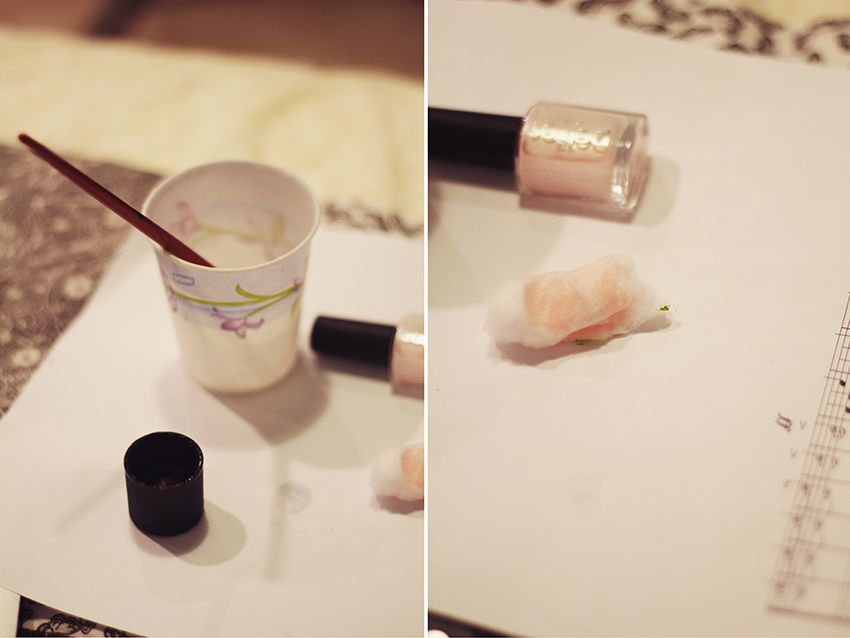
What you'll need: nail polish, water, and an old paintbrush.
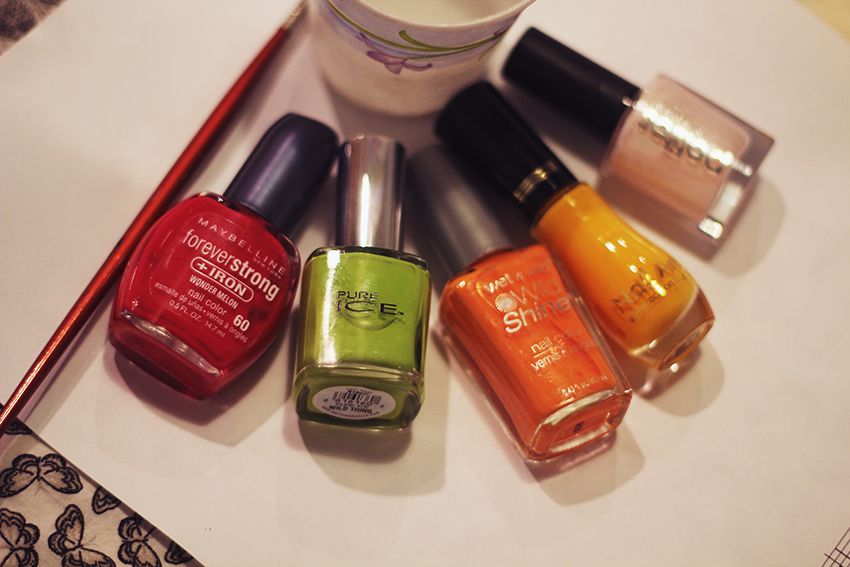
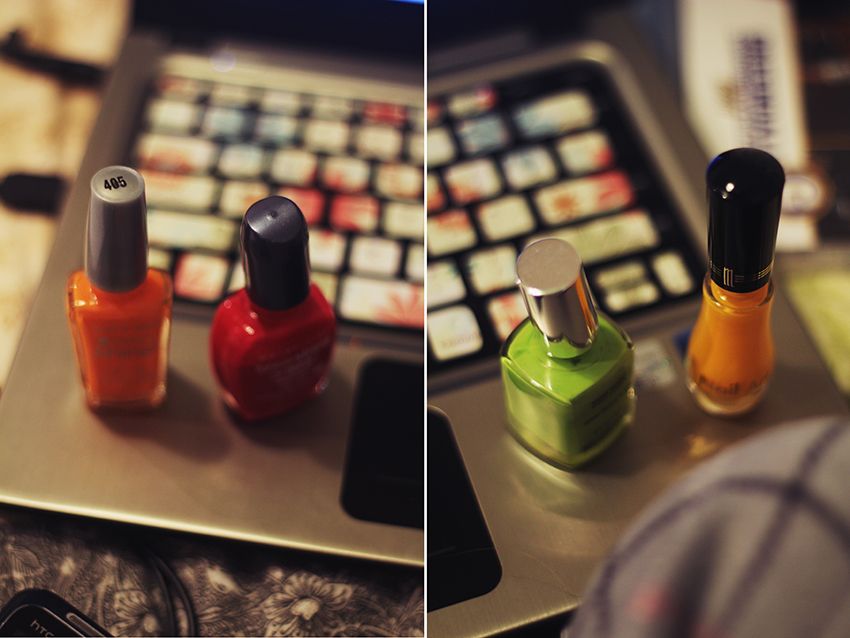
These are the colors I used. Basically I buy the cheapest nail polish I can find at the drug store and usually they are quality polishes.
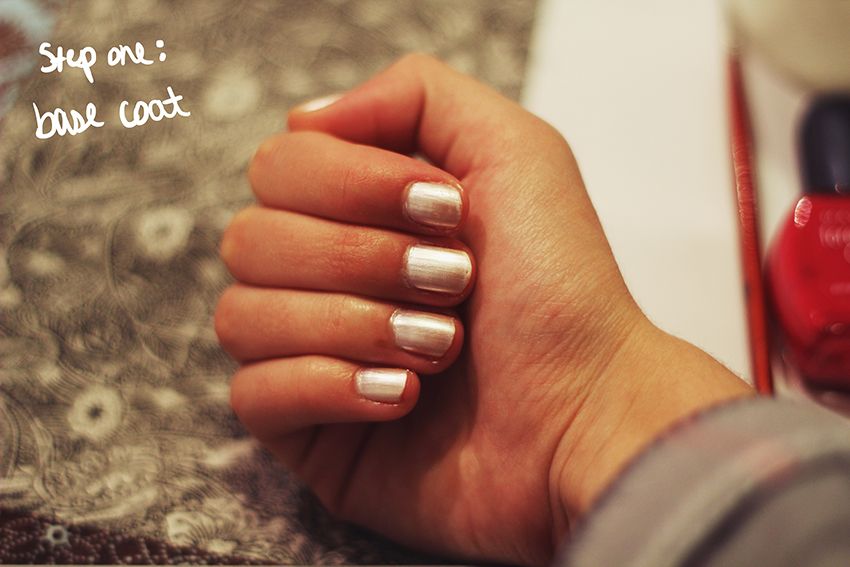
Begin with a base coat. A light, neutral color will work best. Make sure it's completely dry before continuing on to the next step.
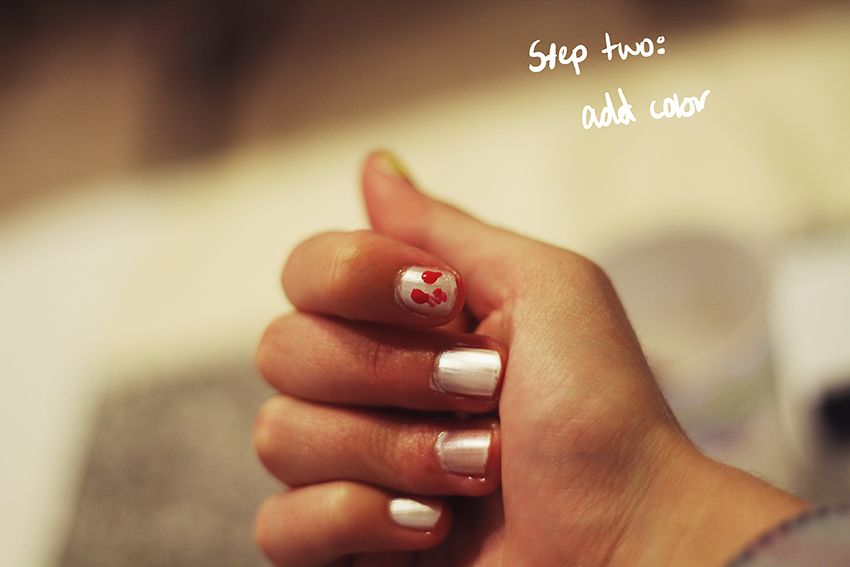
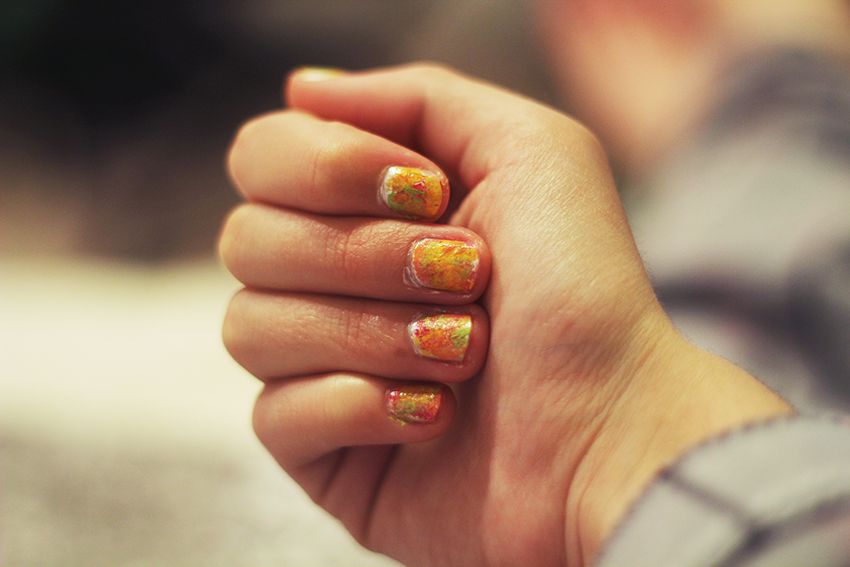
The next step is to add your color. Dip your nail completely in water. Take it out and quickly put a couple of dots of nail polish on the nail (using the nail polish brush). Then you can do one of two things. You can either use the old paint brush to dab the paint around, or you can put the nail back in the water and dab with the brush while it's still submerged. I found that thicker nail polishes tended to retain their shape while thinner nail polishes were happy mingling with the water. Repeat with other colors to add dimension.
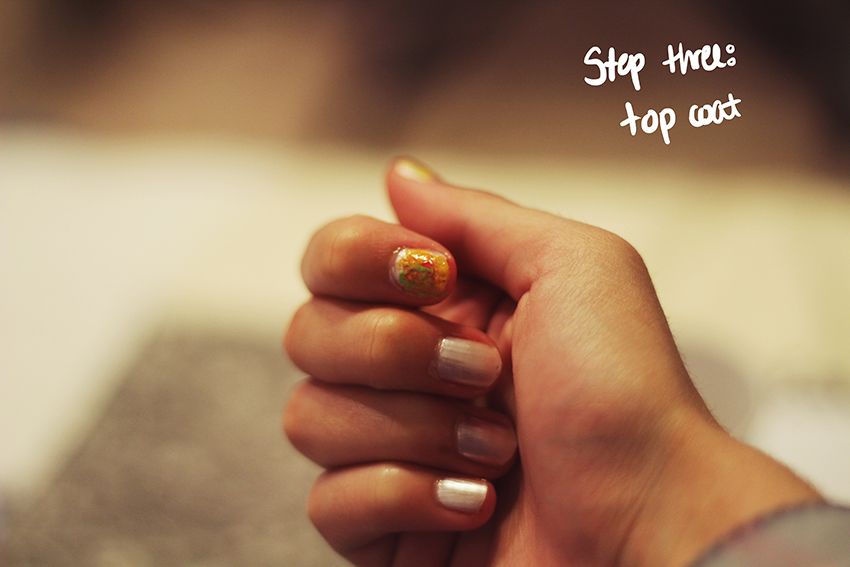
Once your nails are dry, just paint on a top coat and you're all done!
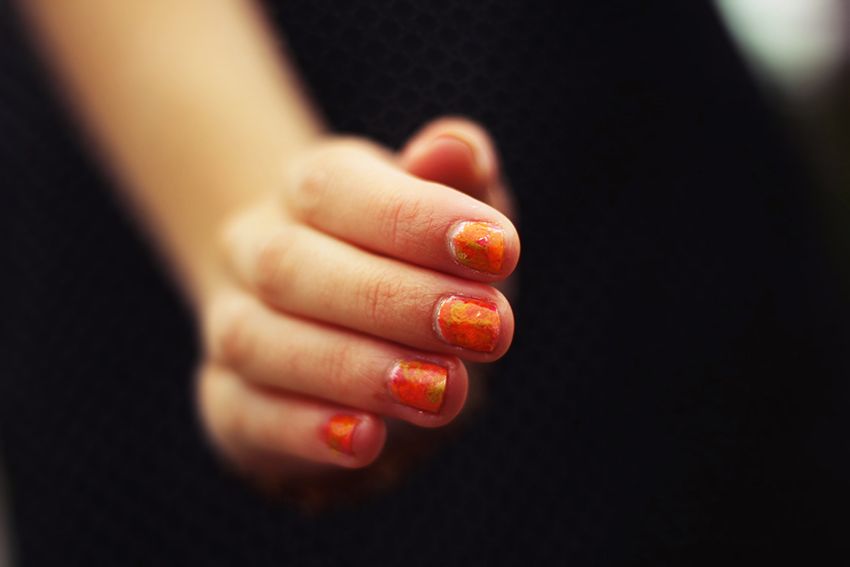
I will definitely be trying this design again with a different color schemes. What colors would you use?
No comments:
Post a Comment